We would like to tell you that Amazon has 30% for this week
Blog
-
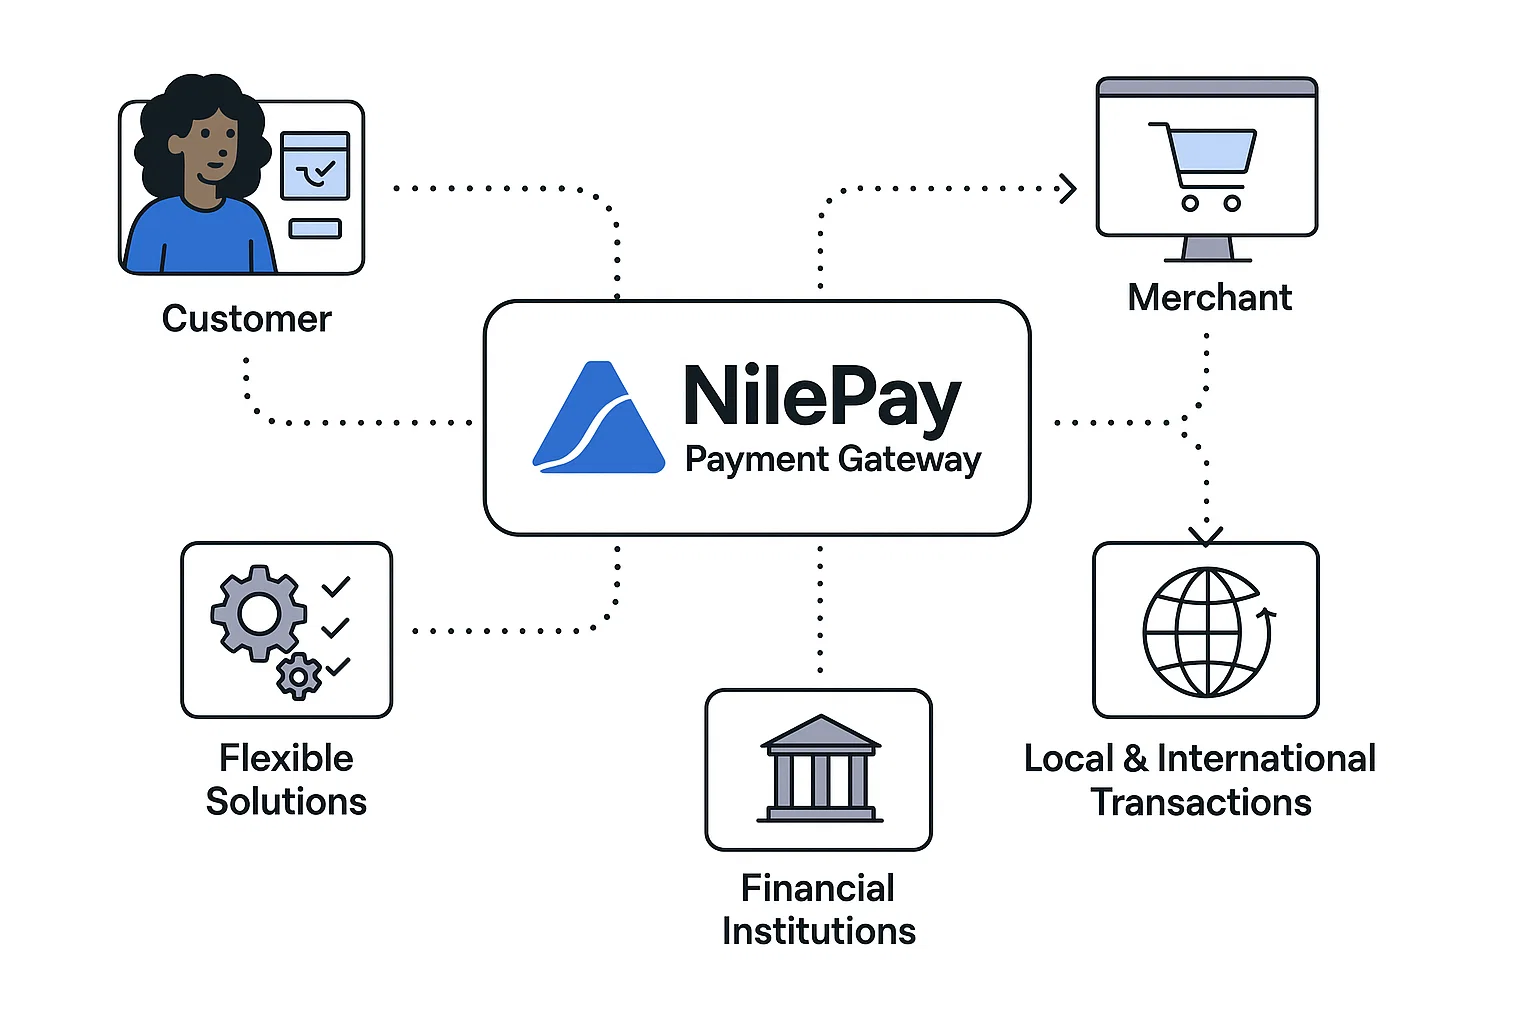
Expanding Access with Mobile Money — Integrating Wallet Payments through NilePay
In Ethiopia, millions of users rely on mobile wallets instead of traditional bank accounts. NilePay helps your business tap into this audience by seamlessly integrating mobile money payments. Here’s how it works.
Step 1: Enable Mobile Money on Your Account
Login to your NilePay Dashboard → Navigate to Integrations → Enable Mobile Money.
Step 2: Initiate Mobile Money Payments via API
const payment = await nilepay.createMobileMoneyPayment({
  amount: 300,
  currency: "ETB",
  phoneNumber: "+251912345678",
  provider: "telebirr", // or m-birr, helloCash, etc.
});
Step 3: Notify Users in Real-Time
NilePay provides instant webhook callbacks when payments are completed or canceled. Use this to update your order or subscription status.
Step 4: Test Using Sandbox Mode
Before going live, use NilePay’s sandbox environment to test transactions without real money.
Benefits of Mobile Money Integration:
- Reach unbanked and underbanked users.
- Enable instant transactions.
- Reduce dependency on cards or banks.
Conclusion
By integrating mobile money with NilePay, you’re not just offering convenience — you’re driving financial inclusion
-

Securing Your NilePay Integration — Best Practices Every Developer Should Know
When dealing with financial transactions, security isn’t optional — it’s essential. At NilePay, we prioritize data integrity, encryption, and fraud prevention. Here are the top security best practices you should follow when integrating NilePay into your system.
1. Use HTTPS for All Requests
Always make API calls over HTTPS. This prevents man-in-the-middle attacks and ensures your data is encrypted in transit.
2. Store Keys Securely
Never hard-code your API keys into your frontend code. Use environment variables or secure vaults (like Firebase Secrets or AWS Parameter Store).
3. Verify Webhooks
When using NilePay’s webhook notifications, always verify signatures to confirm that the request actually came from NilePay servers.
4. Implement Role-Based Access Control
If your platform allows multiple user roles (admin, cashier, customer), ensure permissions are well-defined and isolated.
5. Monitor Transactions
Use the NilePay dashboard to monitor transaction trends. Unusual spikes or repeated failed attempts may indicate fraudulent activity.
Conclusion
By implementing these security measures, you’re not only protecting your users but also strengthening trust in your platform. For more insights,
-
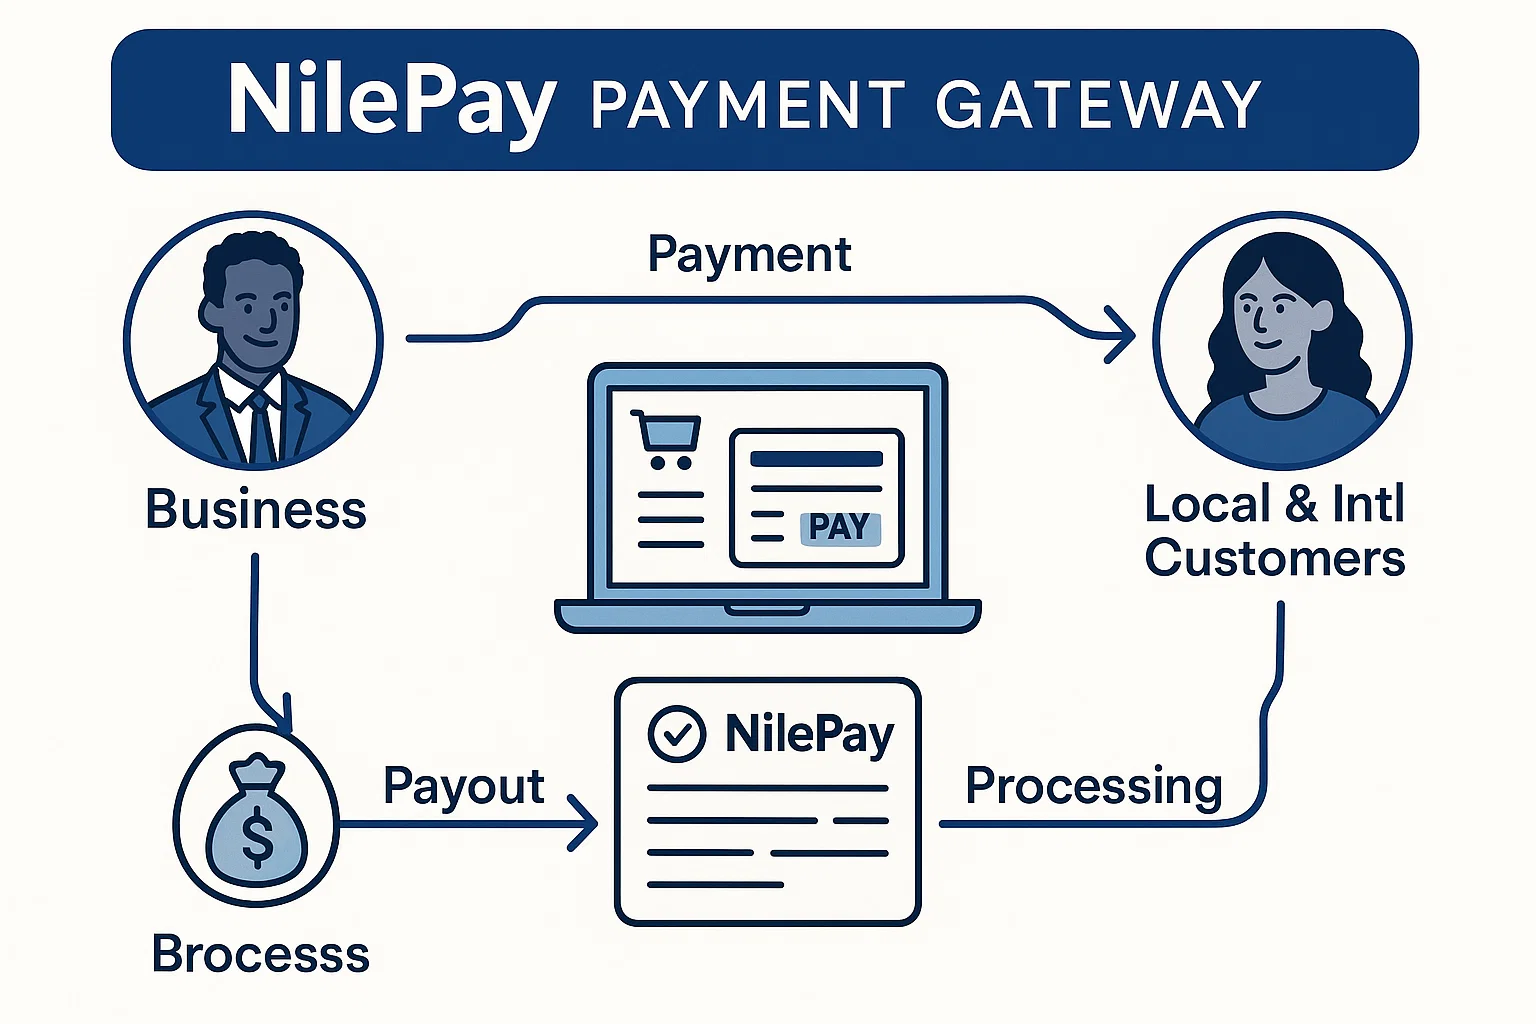
Getting Started with NilePay — Integrate Seamless Payments in Minutes
Accepting online payments in Ethiopia has never been easier. With NilePay, businesses can integrate a reliable, secure, and developer-friendly payment solution into their platforms in just a few steps. This guide will help you get started with NilePay’s API and walk you through the basic setup process.
Step 1: Create a NilePay Developer Account
Visit the [NilePay Developer Portal] and sign up for a free account. Once verified, you’ll receive your API key and Secret Key — the credentials needed to authenticate your requests.
Step 2: Install the SDK
Use the official NilePay JavaScript SDK for easy integration:
npm install nilepay-sdkStep 3: Initialize the SDK
import NilePay from "nilepay-sdk";

const nilepay = new NilePay({
  publicKey: "YOUR_PUBLIC_KEY",
  secretKey: "YOUR_SECRET_KEY",
});
Step 4: Create a Payment Request
const payment = await nilepay.createPayment({
  amount: 500,
  currency: "ETB",
  customerEmail: "customer@example.com",
  description: "Test payment",
});
Step 5: Handle the Payment Response
Once processed, NilePay will return a payment confirmation object. You can use it to update your backend or show success messages to users.
Conclusion
That’s it! You’ve successfully integrated NilePay’s API into your app. Explore our [Documentation Page] for advanced features such as mobile money, POS integration, and blockchain verification.